Creating Custom Groups
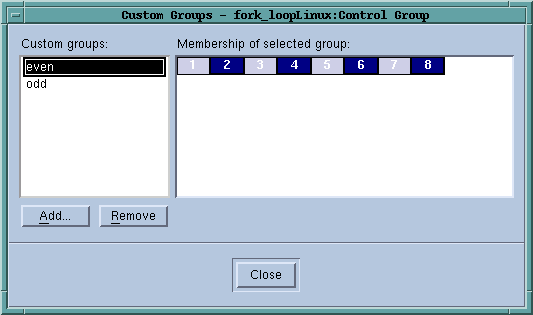
Debugging a multi-process or multi-threaded program most often focuses on running the program in one of two ways: either you run everything or run one or two things. Figuring out what you should be running, however, is a substantial part of the art of debugging. You can make things easier on yourself if you divide your program into groups, and then control these groups separately. When you need to do this, use the Groups > Custom Groups Dialog Box. (See Figure 257.) This dialog box also lets you alter a group’s contents as well as delete the group.
NOTE: You can manage only process groups with this dialog box. Thread groups can only be managed using the CLI. In addition, the groups you create must reside within one control group.
 |
When you first display this dialog box, TotalView also displays a second, used to enter the group’s name.
The dialog’s right side contains a set of boxes. Each represents one of your processes. The initial color represents the process’s state. (This just helps you coordinate within the display in the Process Window’s Processes/Ranks Tab.) You can now create a group using your mouse by clicking on blocks as follows:
Edit an existing group in the same way. After making the group active by clicking on its name on the left, click within the right to make changes. (In most cases, you’ll be using a control-left-click.)
If you’ve changed a group and then select Add or Close, TotalView asks if you want to save the changed group.
If you click Add when a group is selected, TotalView creates a group with the same members as that group.
Finally, you can delete a group by selecting its name and clicking Remove.


