Highlighting a String and the Find Function
You can find specific text in Source views either by highlighting a string, or through the Find function.
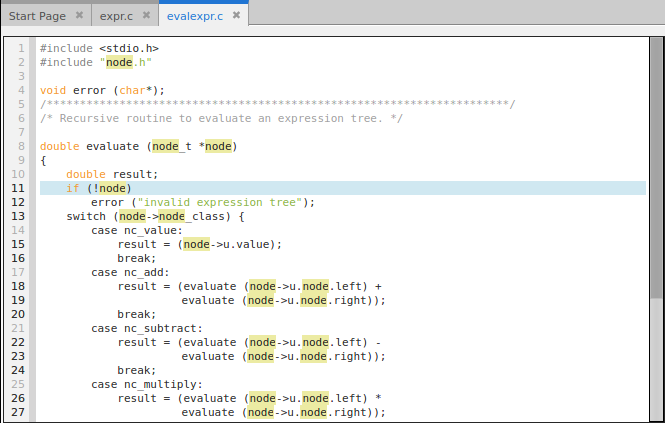
When you click on some continuous string and it highlights, all other matching strings in that view are highlighted also. You can scroll through the text to find all other occurrences of the string. To remove the highlighting, simply click in any open space.

To activate the Find function, enter Ctrl-F or select Find from the Edit menu.

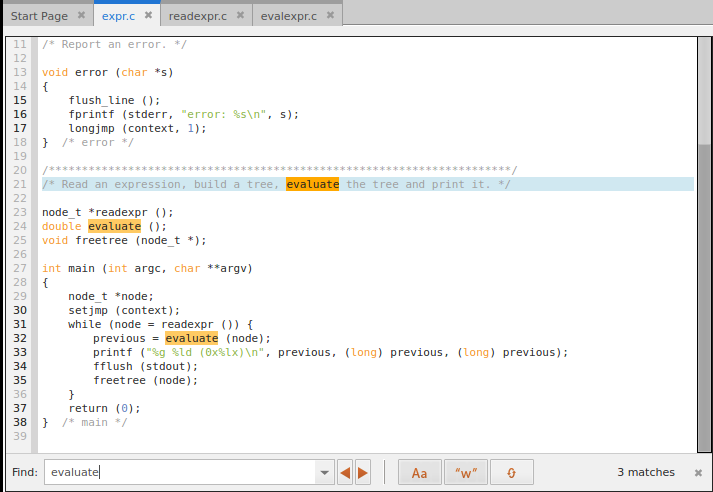
If you select text in the Source view before activating the Find function, the selected string is loaded into the search text box.
 results in
The Find function tells you how many matching strings it has found in a given file, lets you easily move to the Next  (Ctrl-g) or Previous
  (Ctrl-Shift-g) occurrence, and allows you to make the search case sensitive
  or whole word
  .
.
 (Ctrl-g) or Previous
  (Ctrl-Shift-g) occurrence, and allows you to make the search case sensitive
  or whole word
  .
.You can also activate the Wrap Search button,  , to wrap back to the beginning of the file after the last instance is reached.
 , to wrap back to the beginning of the file after the last instance is reached.
The advantages of the Find function over simple highlighting are:
Previous search strings are saved in the dropdown menu at the end of the text field, and these are saved between debugging sessions, as is the state of the case sensitive and whole word buttons.
To close the Find function, press Esc or click the X at the right end of the window.


