Client Session Basics
The TotalView Remote Display Client is simple to use. Just enter the required information, and the Client does the rest.
On Linux, invoke the Client with the following:
remote_display_client.sh
On Windows, either click the desktop icon or use the TVT Remote Display item in the start menu to launch the remote display dialog. On macOS, run the TVRemoteDisplayClient application from the Applications area.
 |
The Client window displays similarly on Linux, Windows, or macOS.
Here are the basic steps:
1. Enter the Remote Host
2. (Optional) As needed, enter hosts in access order...(depending on your network).
If the Client system cannot directly access the remote host, specify the path. For more information, see Naming Intermediate Hosts.
3. Enter settings for the debug session on the Remote Host
Settings required to start TotalView on the remote host. (The TotalView and MemoryScape tabs are identical.)
You can add any command-line options for TotalView or your program.
TotalView options are described in the “TotalView Debugger Command Syntax” chapter of the Classic TotalView Reference Guide.
For arguments to your program, enter them in the same way as you would using the -a command-line option.
Additional options include:
Launching the Remote Session
Next, press the Launch Debug Session button, which launches a password dialog box.
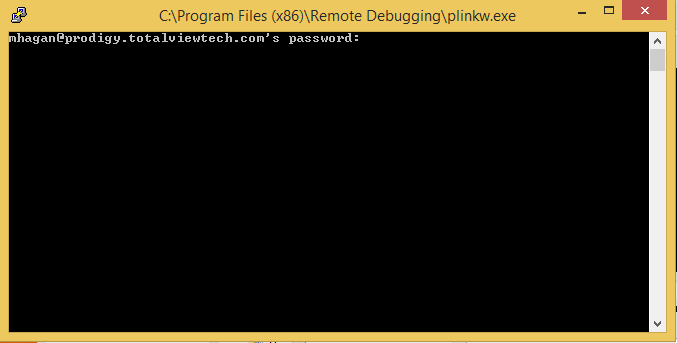 |
Depending on how you have connected, you may be prompted twice for your password: first when Remote Display is searching ports on a remote system and another when accessing the remote host. You can often simplify logging in by using a public key file.
After entering the remote host password, a window opens on the local Client system containing TotalView as well as an xterm running on the remote host where you can enter operating system and other commands. If you do not add an executable name, TotalView displays its File > New Debugging Session dialog box. If you do enter a name, TotalView displays its Process > Startup Parameters dialog box.
Closing the Remote Session
To close the session:
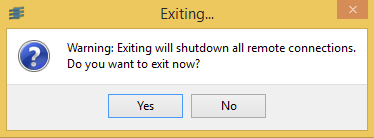
Closing all Remote Sessions and the Client
To close all remote connections and shut down the Client window, select File > Exit.
 |


