Deleting, Disabling, and Suppressing Action Points
You can delete an action point or simply disable it if you think you might use it later.
On this page:
Delete an action point
You can delete one or more action by using one of the following methods:
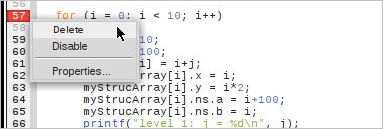
In the Source view, launch the context menu by right-clicking on the action point’s line number and selecting Delete.
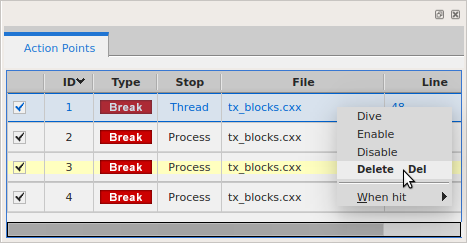
In the Action Points menu, launch the context menu by right-clicking on the action point and selecting Delete.
Clicking on the action point in the Source view. This toggles an action point on or off.
Using the Delete key on your keyboard.
Disable or enable an action point
A disabled action point displays as a dimmed icon.
In the Source view, access the context menu by right-clicking on the action point and selecting Disable or Enable:

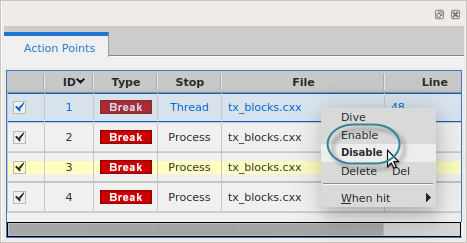
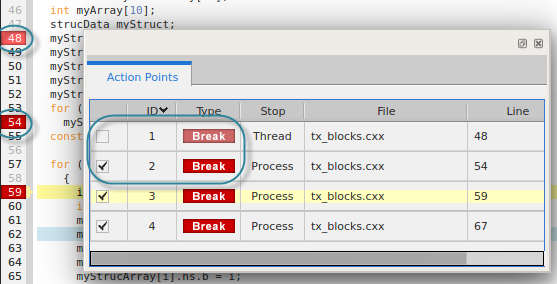
In the Action Points view:
Access the context menu by right-clicking on the action point and selecting Disable or Enable:
Use the Enable/Disable checkbox toggle:
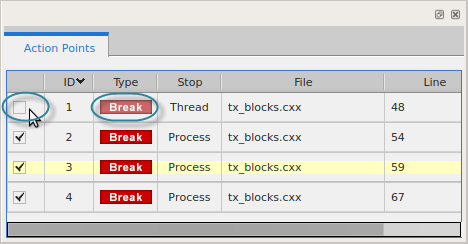
Both the Source view and the Action Points view display the state of an action point:
Suppressing Action Points
The Action Points menu has a toggle menu item Suppress All.
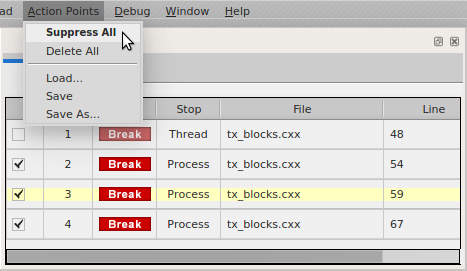
Toggling this item on, as shown, effectively disables all existing action points. If the code is run, threads will not stop at any action points. Although you can create new action points (and delete existing ones), the new action points too will be effectively disabled. Toggling this item off restores all action points to the state they were in when suppressed. Any new action points added are set as enabled.